Integrating automated Selenium tests with TeamCity
Automated tests are crucial these days to achieve high quality software products as they are being prone to errors especially during agile process where changes can occur at any stage causing our solution to stop functioning properly. Apart from standard testing using TDD, Mocking etc. there is always a need to perform interface tests simulating an user using our website. The ideal solution in that case are automated Selenium tests.
Selenium tests give us possibility to create user case scenarios that we can test either on our dev applications or live websites deployed to the clients. This will give us a chance to test all cases after the build will happen either on demand or when we deploy live version of our product.
Selenium tests can be created by the developer or business analyst or testers as this not requires programming skills. In order to start creating tests we need to download Selenium IDE plug-in for Firefox: https://docs.seleniumhq.org/download/
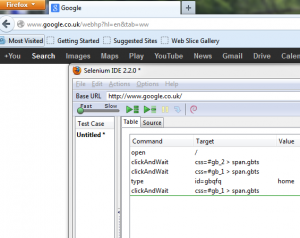
Creating tests is similar to recording macros in Excel, all we need to do is to record our actions that we want to test, image below shows the example:
Please note that you need to install Firefox version 21.0 the newer version is not working with selenium (Firefox bug).
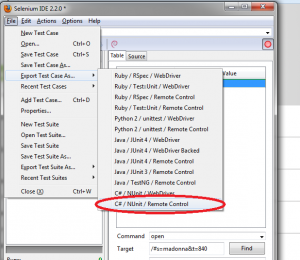
After our test is created, we need to export it to .cs C# file as pictured below:
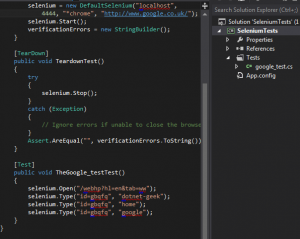
The next step is to create small library project application. We will use this project to compile our test files exported from the Selenium IDE. After we have the project created, we simply need to copy our exported .cs file to our project and compile dll.
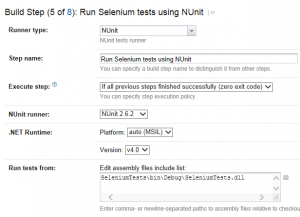
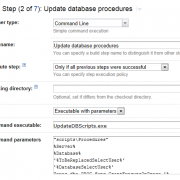
If we want to integrate Selenium tests with the TeamCity server, we can do it by including previously created project into our development project files. After that, we can configure TeamCity build step to run our Selenium tests on every triggered build. To configure build step, we need to choose NUnit runner type (or other test framework of your choice)
If we have configured everything correctly, the test will run on every application change. Of course Selenium tests must be run at the end, when project is compiled and deployed on the server (if this is our local dev environment).
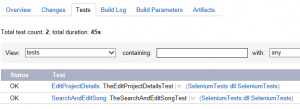
When tests finish, we can check the status in TeamCity admin panel or configure email notification or use TeamCity Tray Notifier to track the results.
The final thing that needs to be set-up is the Selenium server. You can run the Selenium server locally by turning it on when needed and then running NUnit application to check the test locally. In our case we want the Selenium to be running on the server as a Windows Service.
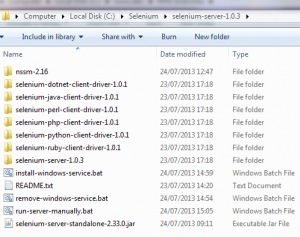
After downloading Selenium RC https://docs.seleniumhq.org/projects/remote-control/ we unpack the files to following location C:\Selenium\selenium-server-1.0.3 You not necessarily need all that files as it also includes web drivers for other languages. Anyway, our folder structure should look similar to following:
We also need to download nssm-2.16 (“Non-Sucking Service Manager”), we will use it to install Windows Service running our Selenium server. When we run run-server-manually.bat, the Selenium server will be launched, it will stop after you close console window – this will help when testing on your local machine.
The script looks like this:
java -jar selenium-server-standalone-2.33.0.jar -port 4444
I have also created 2 scripts: install-windows-service.bat and remove-windows-service.bat that install and remove Windows Service on the target server. The logic is as follows:
//install Windows Service
C:\Selenium\selenium-server-1.0.3\nssm-2.16\win64\nssm.exe install Selenium-Server "C:\Program Files (x86)\Java\jre7\bin\java.exe" "-jar C:\Selenium\selenium-server-1.0.3\selenium-server-standalone-2.33.0.jar"

//Uninstall Windows Service
C:\Selenium\selenium-server-1.0.3\nssm-2.16\win64\nssm.exe remove Selenium-Server
After installing Windows Service, please make sure it is running by going to Control panel > Administrative Tools > Services. You also need to remember to check java path as it differs for x64 systems.
That’s it. I have included configuration files that may help you. Hope you will be successful with your configuration 🙂

